Watch Installation Video here
Purchase Freestanding Bathtubs here
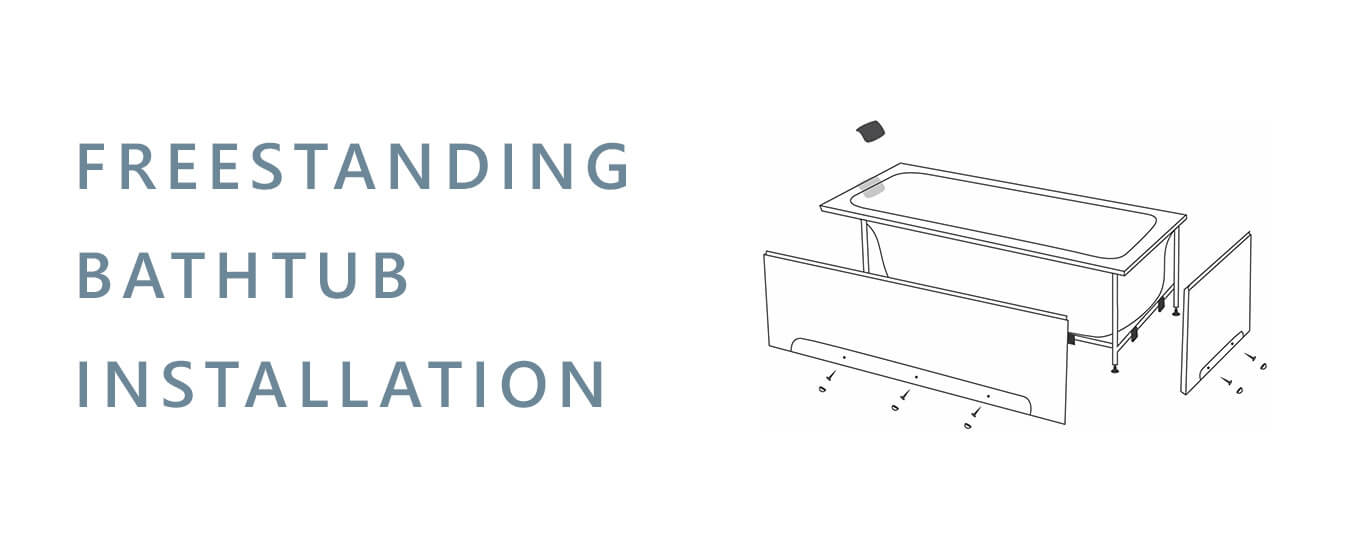
Placement of Bathtub
1. Place the bathtub on desired location in the bathroom where the bathtub shall be installed.
2. Ensure there is enough space and access for installation.
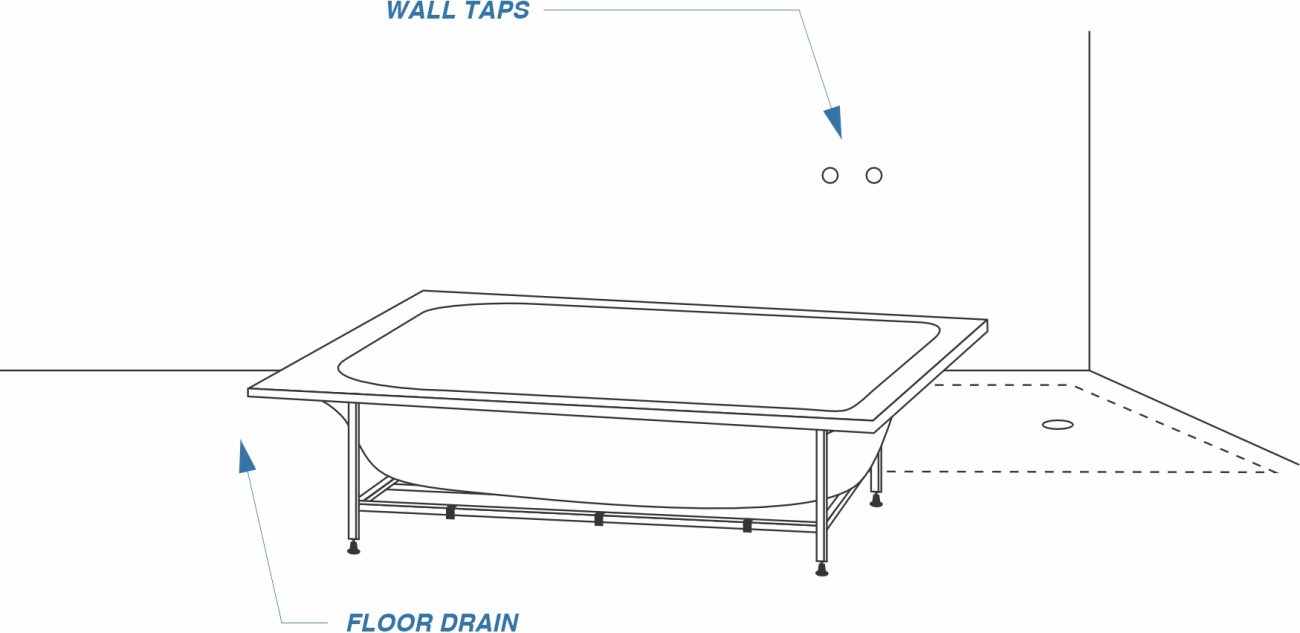
*location of the wall taps can be different from the one shown in drawing
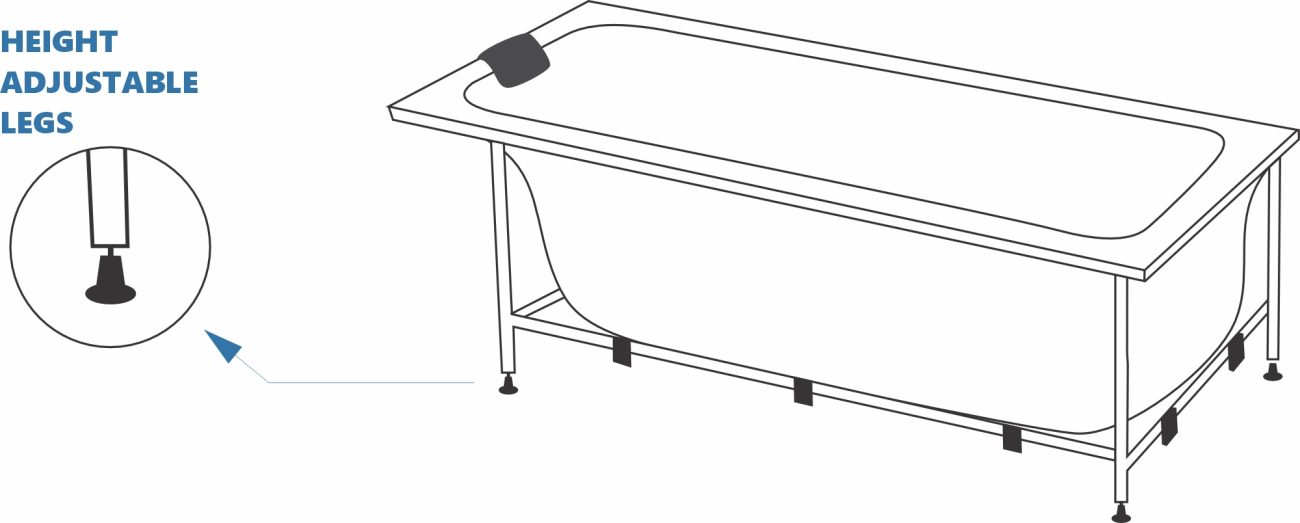
Leveling of Bathtub
3. Locate the adjustable legs underneath the bathtub.
4. Use a level and adjust the legs until the bathtub is level and stable.
5. Once the bathtub is level, tighten the nuts securely to hold the position.
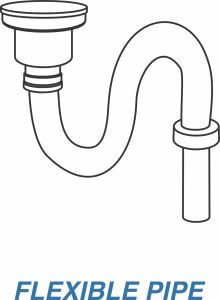
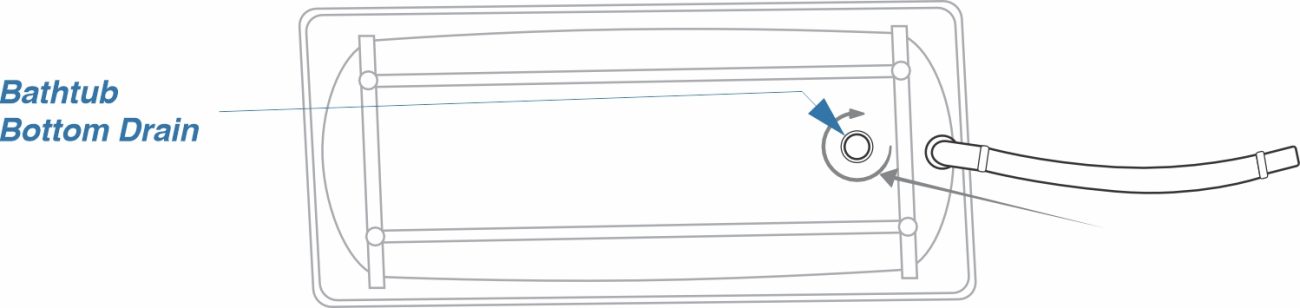
Drain Connection
6. Locate the flexible pipe provided with the bathtub.
Purchase Pop-up Drain here
Purchase Pop-up Drain with Overflow here
7. Connect one end of the pipe to the bottom of the bathtub drain.
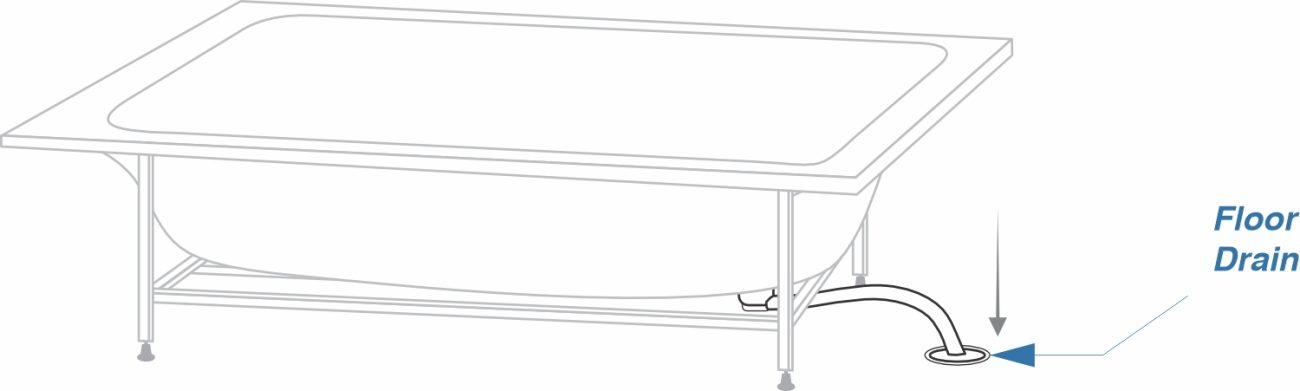
8. Insert the other end of the pipe into the floor drain, ensuring a secure connection.
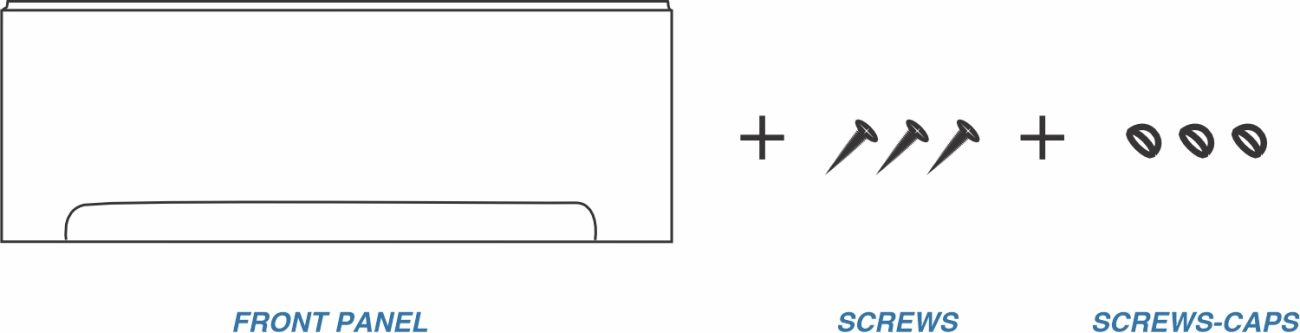
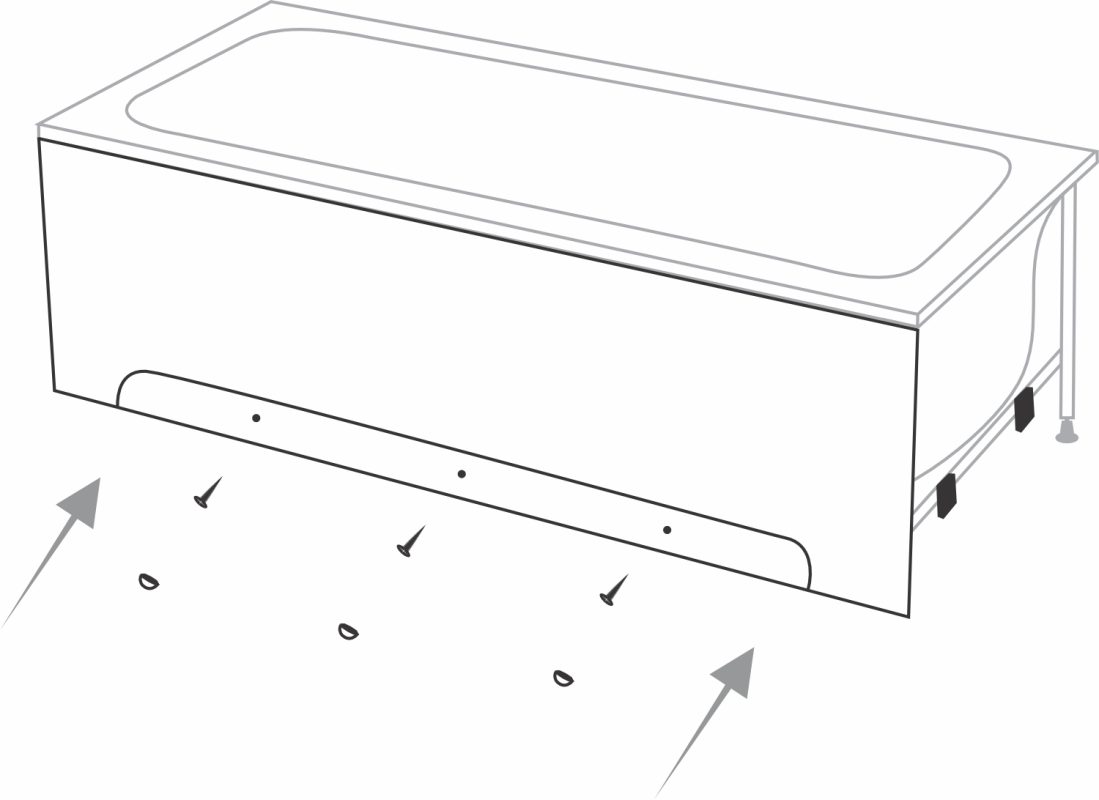
Panel Installation
9. Identify the front panel provided with the bathtub.
10. Locate the screws and screw-caps that are provided.
11. Slide the panel behind the bathtub collar from the top.
12. Align the panel with the bathtub stand at the bottom.
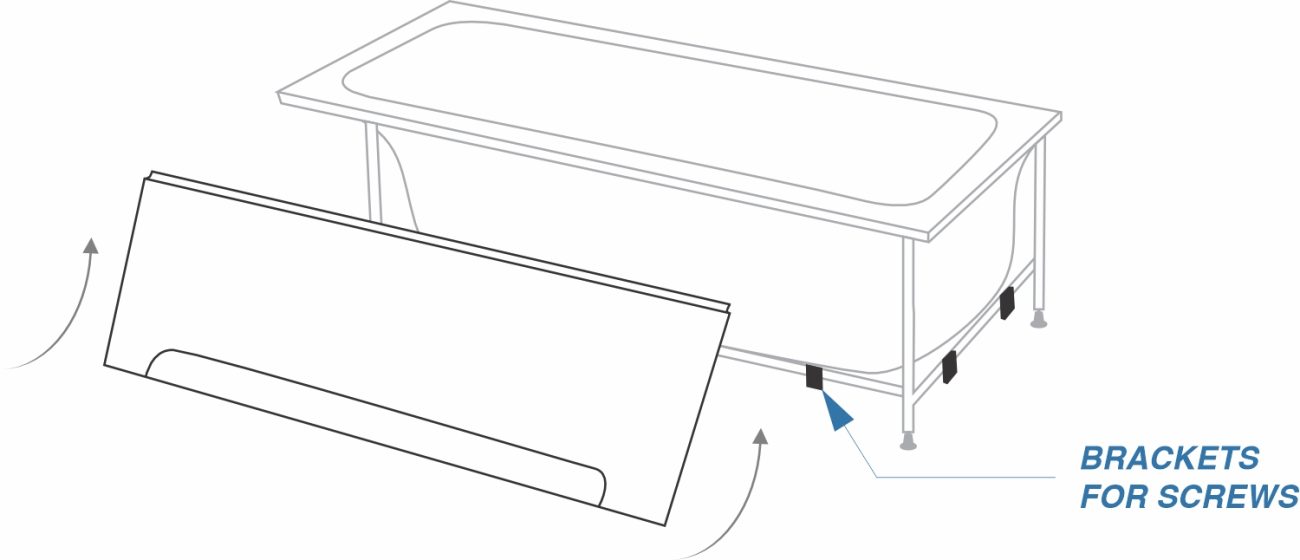
13. Securely screw the panel to the bathtub stand using the provided screws.
14. Use the screw caps to cover the heads of the screws, giving a neat and finished look.
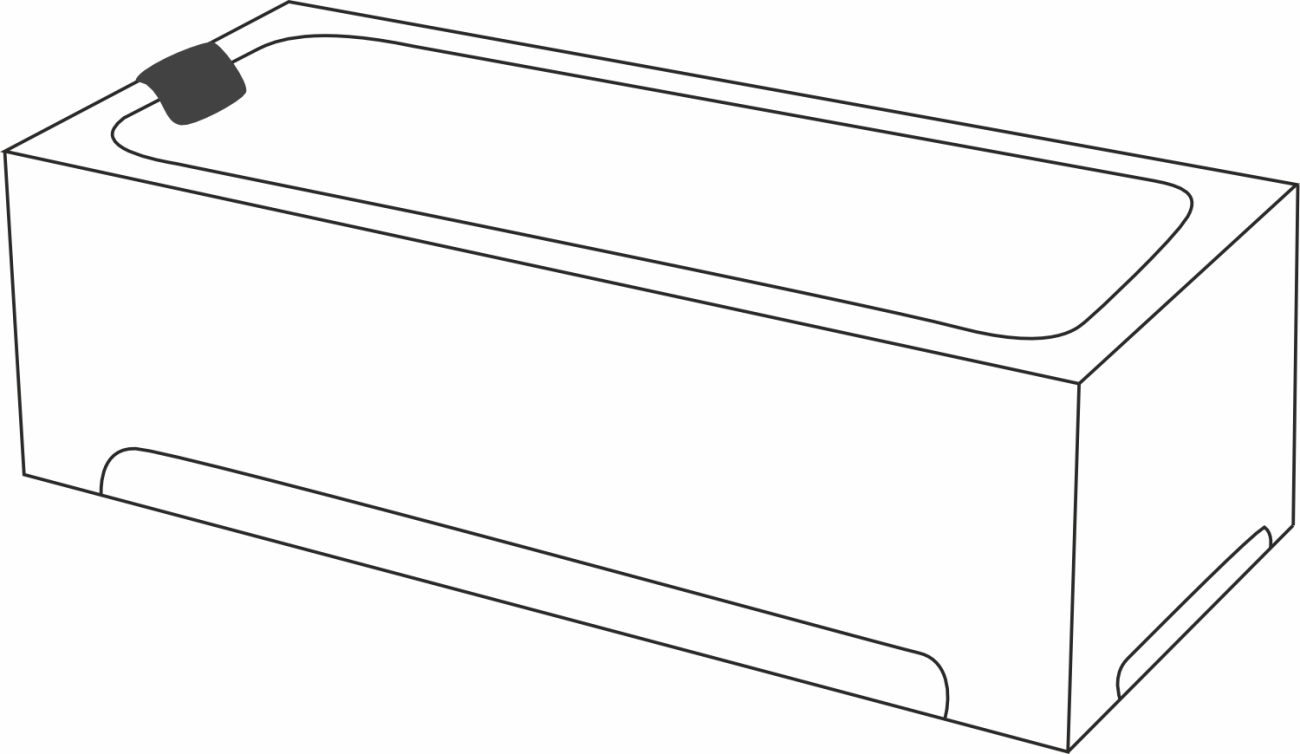
Headrest Installation
15. Press the suction headrest in its place to secure it.
Purchase headrest here
You have successfully installed a Madonna Home Solutions Freestanding Bathtub !!
Leave a comment
Social Links